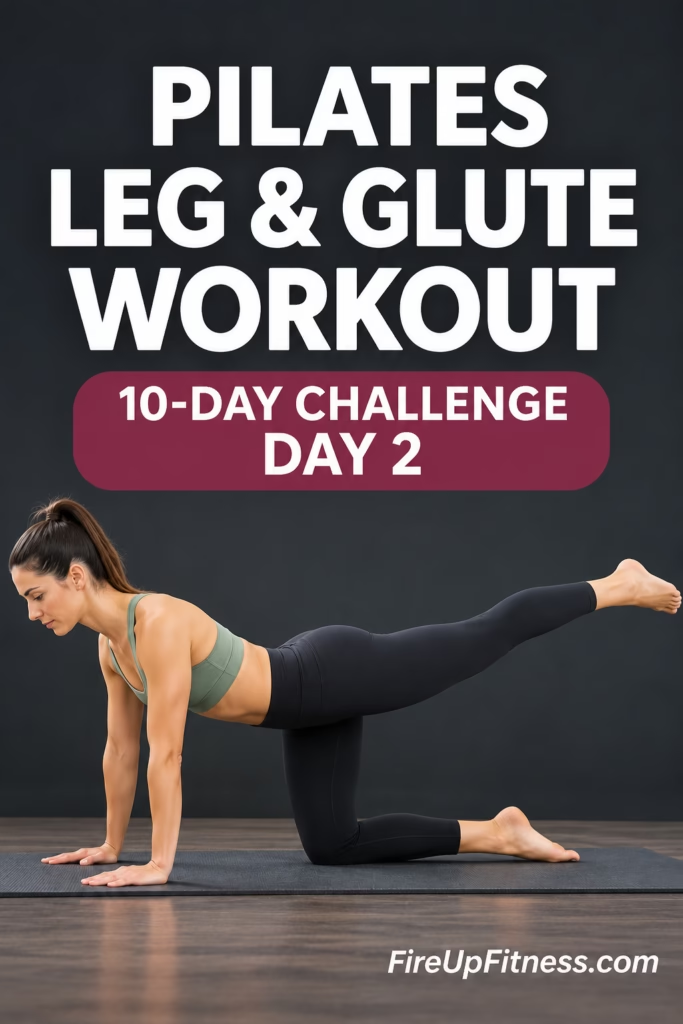
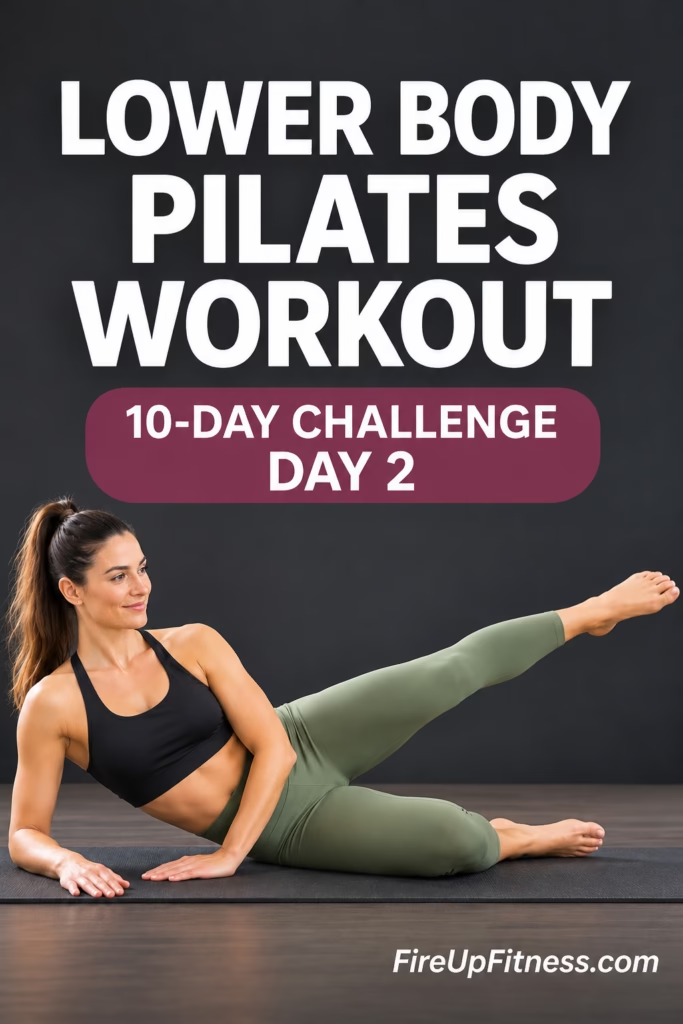
Lower Body Pilates Workout | 10-Day Challenge Day 2
Building lower body strength doesn’t always require heavy weights, resistance bands, or high-impact exercises. Sometimes, slow and controlled movements can create a surprisingly challenging workout, especially when you focus on proper form and muscle engagement.
Welcome to Day 2 of our 10-Day Pilates Challenge!
Today, we’re focusing on an intermediate Pilates lower body workout designed to strengthen your glutes, hamstrings, inner thighs, and calves while improving hip stability and body control.
This routine combines standing Pilates exercises, side-lying leg movements, and glute bridges to challenge your lower body from different angles. You’ll also work your core throughout the session, helping you maintain balance and control as your legs move.
One of the best things about this workout is that you only need an exercise mat and enough space to move comfortably.
Already completed Day 1? You’re building a wonderful habit by showing up again. New to the challenge? You can still enjoy today’s workout as a standalone lower body Pilates session.
Let’s get started.
What to Expect From Day 2 of the Pilates Challenge
Today’s workout places extra attention on the glutes, which play an important role in supporting your hips, pelvis, and lower back.
Strong glute muscles help stabilize your body during everyday movements such as walking, climbing stairs, and standing on one leg.
The exercises also challenge your hamstrings, quadriceps, calves, and deep core muscles.
Here’s what today’s session includes:
- Workout level: Intermediate
- Equipment: Exercise mat
- Focus areas: Glutes, hamstrings, inner thighs, calves, and hip stability
- Workout style: Slow, controlled Pilates movements
- Exercise intervals: Mostly 60 seconds
- Impact level: Low impact
- Workout structure: Standing exercises, side-lying movements, glute bridges, and gentle stretching
Although this is an intermediate routine, you can adjust the range of motion or take breaks whenever necessary.
The goal isn’t to perform every movement perfectly. It’s to move with intention, challenge your muscles safely, and gradually develop better control.
Follow Along With the Day 2 Pilates Workout Video
The best way to complete today’s routine is to follow along with the video.
You’ll receive guidance on breathing, posture, movement speed, and maintaining proper hip alignment throughout the workout.
Watch the Day 2 video below and complete the exercises at your own pace.
Part 1: Standing Pilates Exercises to Warm Up Your Lower Body
We begin with standing movements that activate the thighs, glutes, and calves while preparing the hips and knees for the rest of the workout.
1. Squat With Alternating Leg Extensions
Our first exercise combines a squat with controlled backward leg extensions.
This movement challenges your lower body while encouraging your core muscles to stabilize your pelvis as you shift your weight.
How to do it:
- Stand with your feet hip-width apart.
- Bend your knees and lower into a comfortable squat.
- Extend one leg straight behind you, keeping your toes lightly touching the floor.
- Return that leg to the starting position.
- Repeat the backward extension with your opposite leg.
- Press through your feet and return to standing.
Continue following the instructor’s pace.
Form tip: Keep your hip bones facing forward as you extend each leg. Avoid rocking your pelvis from side to side.
Engage your abdominal muscles and breathe naturally throughout the movement.
2. High-Heel Pilates Squats
Next, we make the squat more challenging by lifting the heels off the floor.
This variation increases the balance demands while working the thighs and calves.
How to do it:
- Stand tall with your feet approximately hip-width apart.
- Rise onto the balls of your feet.
- Keep your heels lifted as you bend your knees.
- Lower your hips as far as you can comfortably control.
- Press through the balls of your feet to return to standing.
Try to maintain an upright posture without leaning excessively forward.
Form tip: Keep your knees tracking in the same direction as your toes. Lower only as far as you can maintain balance and comfortable knee alignment.
You can hold a stable chair or wall for support if needed.
3. Standing Calf Raises
60 seconds
The final standing exercise focuses on strengthening the calves and improving ankle control.
How to do it:
- Stand with your feet hip-width apart.
- Keep your spine tall and shoulders relaxed.
- Slowly lift both heels off the floor.
- Pause briefly at the top.
- Lower your heels with control.
- Repeat for 60 seconds.
Focus on distributing your weight evenly across the balls of your feet rather than rolling your ankles inward or outward.
This movement may look simple, but the slow lowering phase makes it more challenging.
Part 2: Side-Lying Pilates Exercises for Glute Strength
Now it’s time to move onto your mat.
This section focuses on the side glutes, particularly the muscles responsible for stabilizing your pelvis and controlling sideways leg movements.
You’ll complete three exercises on each side.
4. Side-Lying Leg Lifts
60 seconds per side
Start on your right side.
How to do it:
- Position your right elbow directly beneath your right shoulder.
- Bend your bottom knee for support.
- Extend your left leg straight.
- Keep your chest open and your supporting side lifted away from the mat.
- Exhale as you lift your top leg.
- Inhale as you slowly lower it toward the floor.
Continue for 60 seconds before completing the movement on your other side.
The key is controlling the downward movement rather than allowing your leg to fall.
Form tip: Keep your pelvis steady and avoid lifting your leg so high that your hips begin to rotate.
5. Side-Lying Leg Box Circles
60 seconds per side
Instead of simply lifting your leg, you’ll now trace a square shape through the air with your toes.
This challenges your glutes while encouraging better coordination and hip control.
How to do it:
- Stay in your side-lying position with your top leg extended.
- Lift your leg upward.
- Move your foot forward.
- Lower your leg toward the floor.
- Draw your leg backward to complete the square.
- Repeat the movement with control.
Keep each side of the imaginary box distinct.
Form tip: Begin with small squares. Increase the size only when you can maintain a stable pelvis without rocking your torso.
6. Reverse Side-Lying Leg Boxes
60 seconds per side
Now reverse the direction of your leg movements.
How to do it:
- Extend your top leg forward.
- Lift your leg upward.
- Move it backward.
- Lower it toward the starting position.
- Continue tracing the square in this opposite direction.
Keep your supporting shoulder relaxed and your abdominal muscles gently engaged.
After finishing all three exercises on your right side, repeat the complete side-lying series on your left side.
By the end of this section, your side glutes will likely feel challenged.
Remember that a smaller, controlled movement is more valuable than a larger movement that causes your hips to shift.
Part 3: Pilates Glute Bridge Exercises
The next section moves into a lying position on your back.
Glute bridges are particularly useful for strengthening the muscles along the back of your body, including your glutes and hamstrings.
These variations also challenge pelvic stability and abdominal control.
7. Articulating Shoulder Bridges
60 seconds
This movement emphasizes controlled spinal articulation as you lift and lower your hips.
How to do it:
- Lie on your back with your knees bent.
- Place your feet flat on the mat, with your heels approximately beneath your knees.
- Relax your shoulders and arms against the floor.
- Gently tuck your tailbone.
- Slowly lift your spine off the mat, one section at a time.
- Squeeze your glutes at the top without arching your lower back.
- Lower your spine gradually until your hips return to the mat.
Try to make the movement smooth rather than lifting your entire back as one rigid unit.
Form tip: Keep your shoulders grounded and avoid pressing your neck into the mat.
8. Single-Leg Bridge With Toe Taps
60 seconds per side
This variation introduces a balance challenge while your hips remain elevated.
How to do it:
- Lift your hips into a shoulder bridge.
- Bring your left leg into a tabletop position, with your knee bent at approximately 90 degrees.
- Keep your right foot firmly planted.
- Extend your left leg forward from the hip while maintaining the knee bend, lowering your toes toward the floor.
- Return your left knee above your hip.
- Continue for 60 seconds before switching sides.
Focus on keeping both sides of your pelvis level.
Your supporting glute and hamstring work to prevent your hips from dropping as the opposite leg moves.
9. Single-Leg Bridge Pulses
60 seconds per side
Stay in the bridge position for another glute-focused challenge.
How to do it:
- Keep your left leg lifted in tabletop position.
- Press your right heel firmly into the mat.
- Lower your hips a few inches.
- Exhale as you lift your hips again.
- Continue pulsing with small, controlled movements.
- Repeat on the opposite side.
Avoid twisting your pelvis or gripping the mat tightly with your hands.
Form tip: Reduce the height of your bridge if you begin to feel discomfort in your lower back.
The goal is to maintain steady hip alignment while your supporting leg performs most of the work.
Part 4: Bridge Variations for Calves and Glutes
We’re approaching the end of the strengthening portion of today’s Pilates workout.
These final two exercises combine glute bridge positioning with calf activation.
10. Glute Bridge Calf Raises
60 seconds
This movement strengthens your calves while your glutes help maintain the bridge position.
How to do it:
- Lie on your back with your knees bent.
- Walk your feet slightly closer toward your hips.
- Lift your hips into a bridge.
- Raise both heels off the mat.
- Slowly lower your heels toward the floor.
- Exhale as you lift them again.
Your hips may lower slightly as your heels move, but try to keep your pelvis level.
Move both heels together and avoid rushing through the exercise.
11. High-Heel Glute Bridge Pulses
60 seconds
This is the final strengthening exercise of Day 2.
How to do it:
- Stay in your bridge position.
- Lift your heels high and keep them elevated.
- Lower your hips a few inches.
- Exhale as you press your hips upward.
- Squeeze your glutes gently at the top.
- Continue with small, controlled pulses.
Keep your shoulders resting comfortably on the mat.
Once you’ve finished, lower your heels and slowly roll your spine back onto the floor.
You’ve completed the main workout!
Part 5: Gentle Pilates Stretches to Cool Down
After challenging your glutes, thighs, and calves, the video finishes with gentle stretches to help your body relax.
12. Knee Circles
Lie on your back and hug both knees toward your chest.
Slowly circle your knees outward, away from your body, and back together.
After a few repetitions, reverse the direction.
Keep the circles gentle and comfortable.
13. Hamstring and Ankle Stretch
Extend your right leg along the mat while bringing your left knee toward your chest.
Straighten your left leg upward as far as comfortable.
Point and flex your foot, then make a few ankle circles in each direction.
Repeat on your right leg.
14. Supine Spinal Twist
With your left knee bent, gently guide it across your body toward the right side.
Extend your left arm outward and breathe deeply.
Return to the center before repeating on the other side.
Avoid forcing your knee toward the floor.
15. Prone Quadriceps Stretch
Roll onto your stomach.
Bend your right knee and gently bring your heel toward your glute, holding your foot if comfortable.
Keep your pelvis grounded and avoid excessive arching through your lower back.
Repeat with your left leg.
16. Shell Stretch
Finish by pressing your hips back toward your heels with your arms reaching forward.
Allow your back and shoulders to relax.
Take several slow breaths before gradually returning to an upright position.
Why This Lower Body Pilates Workout Is Worth Adding to Your Routine
Today’s exercises do more than challenge your leg muscles.
Practicing these movements consistently may help you develop several important aspects of physical fitness.
Stronger Glutes and Hamstrings
The side-lying exercises and glute bridge variations target muscles that support your hips and help you perform everyday movements.
Building strength in these areas can also improve your control during activities such as walking and climbing stairs.
Better Hip and Pelvic Stability
Many of today’s movements require you to keep your pelvis still while one leg moves independently.
This encourages coordination between your glutes, abdominal muscles, and other stabilizing muscles.
Over time, improving this control can support more efficient movement patterns.
Improved Balance and Body Awareness
Standing heel raises, elevated-heel squats, and single-leg bridge variations challenge your ability to maintain alignment.
The controlled pace encourages you to notice how your body moves and make adjustments when necessary.
Greater Muscular Endurance
Working through repeated 60-second intervals challenges your muscles to maintain effort over time.
As you become more comfortable with the movements, you may notice that you can complete longer intervals without losing your form.
A Low-Impact Way to Build Strength
This routine doesn’t include jumping or running.
That makes it a useful option for anyone who enjoys controlled, low-impact exercise, although some movements may still be challenging for sensitive knees, hips, or ankles.
Tips for Getting the Most Out of Day 2
Pilates becomes more effective when you pay attention to how you’re moving rather than simply trying to complete as many repetitions as possible.
A few things to remember throughout today’s workout:
- Move slowly. Control both the lifting and lowering phases of each exercise.
- Keep your hips stable. Avoid twisting or rocking your pelvis to create extra movement.
- Use your breath. Exhale during the more demanding part of the exercise and inhale during the return.
- Relax your shoulders. Try not to hold unnecessary tension in your neck or upper body.
- Adjust your range of motion. Smaller movements can still provide a meaningful challenge.
- Rest when necessary. Muscle fatigue is normal, but sharp pain or joint discomfort is a reason to stop or modify the exercise.
You don’t need to push through every second of an interval to make progress. Maintaining proper technique matters more than completing the full minute.
How to Stay Consistent With the 10-Day Pilates Challenge
One of the biggest benefits of following a structured Pilates challenge is having a clear plan for each day.
Rather than deciding what to work on every morning, you can simply follow the next workout in the series.
Day 1 introduced the challenge, and Day 2 continues building your Pilates practice with a stronger emphasis on lower body strength and stability.
As you move through the remaining days, remember that consistency doesn’t require perfection.
Some sessions may feel easier than others. You might need extra breaks, or you may find certain movements more challenging than expected.
That’s a normal part of learning and developing strength.
Try to approach each session with curiosity rather than pressure.
A helpful habit: After today’s workout, take a moment to notice which movements felt strongest and which required more concentration. These small observations can help you recognize improvements as the challenge continues.
Frequently Asked Questions
Is Day 2 of the Pilates Challenge beginner-friendly?
This workout is designed at an intermediate level, but beginners with some exercise experience may be able to participate by reducing their range of motion, shortening intervals, and taking additional breaks.
The single-leg bridge exercises and elevated-heel squats may require extra modifications.
Can I do this lower body Pilates workout without equipment?
Yes. You only need a comfortable exercise mat. No dumbbells or resistance bands are required.
Can Pilates help strengthen my glutes?
Yes. Pilates exercises such as side-lying leg lifts and glute bridges can strengthen your glute muscles when performed consistently with appropriate resistance and progression.
Should my glutes feel sore after this workout?
You may experience mild muscle soreness, especially when trying unfamiliar exercises. However, soreness isn’t necessary for a workout to be effective.
Give your muscles time to recover, and avoid pushing through sharp or persistent pain.
Can I repeat Day 2 as a standalone workout?
Absolutely. You can return to this lower body Pilates routine whenever it fits your exercise schedule, allowing adequate recovery between challenging sessions targeting the same muscles.
Day 2 Complete: Get Ready for Day 3!
You’ve made it through another day of the 10-Day Pilates Challenge, and that’s something worth recognizing.
Today’s workout challenged your lower body through controlled squats, side-lying leg movements, single-leg bridges, and calf exercises. Along the way, you practiced balance, hip stability, core engagement, and mindful breathing.
These are skills that can become more natural with regular practice.
Before moving on, give yourself a moment to appreciate the effort you put into today’s session. You don’t need to finish every exercise without stopping or feel completely exhausted to know you’ve accomplished something worthwhile.
The most important part is continuing to make movement a regular part of your life.
Coming up next: Day 3 of the 10-Day Pilates Challenge.
We’ll continue the series with another guided Pilates workout to help you build strength, improve movement control, and develop a consistent routine.