Advanced Lower Body Pilates Workout | Day 7 Challenge
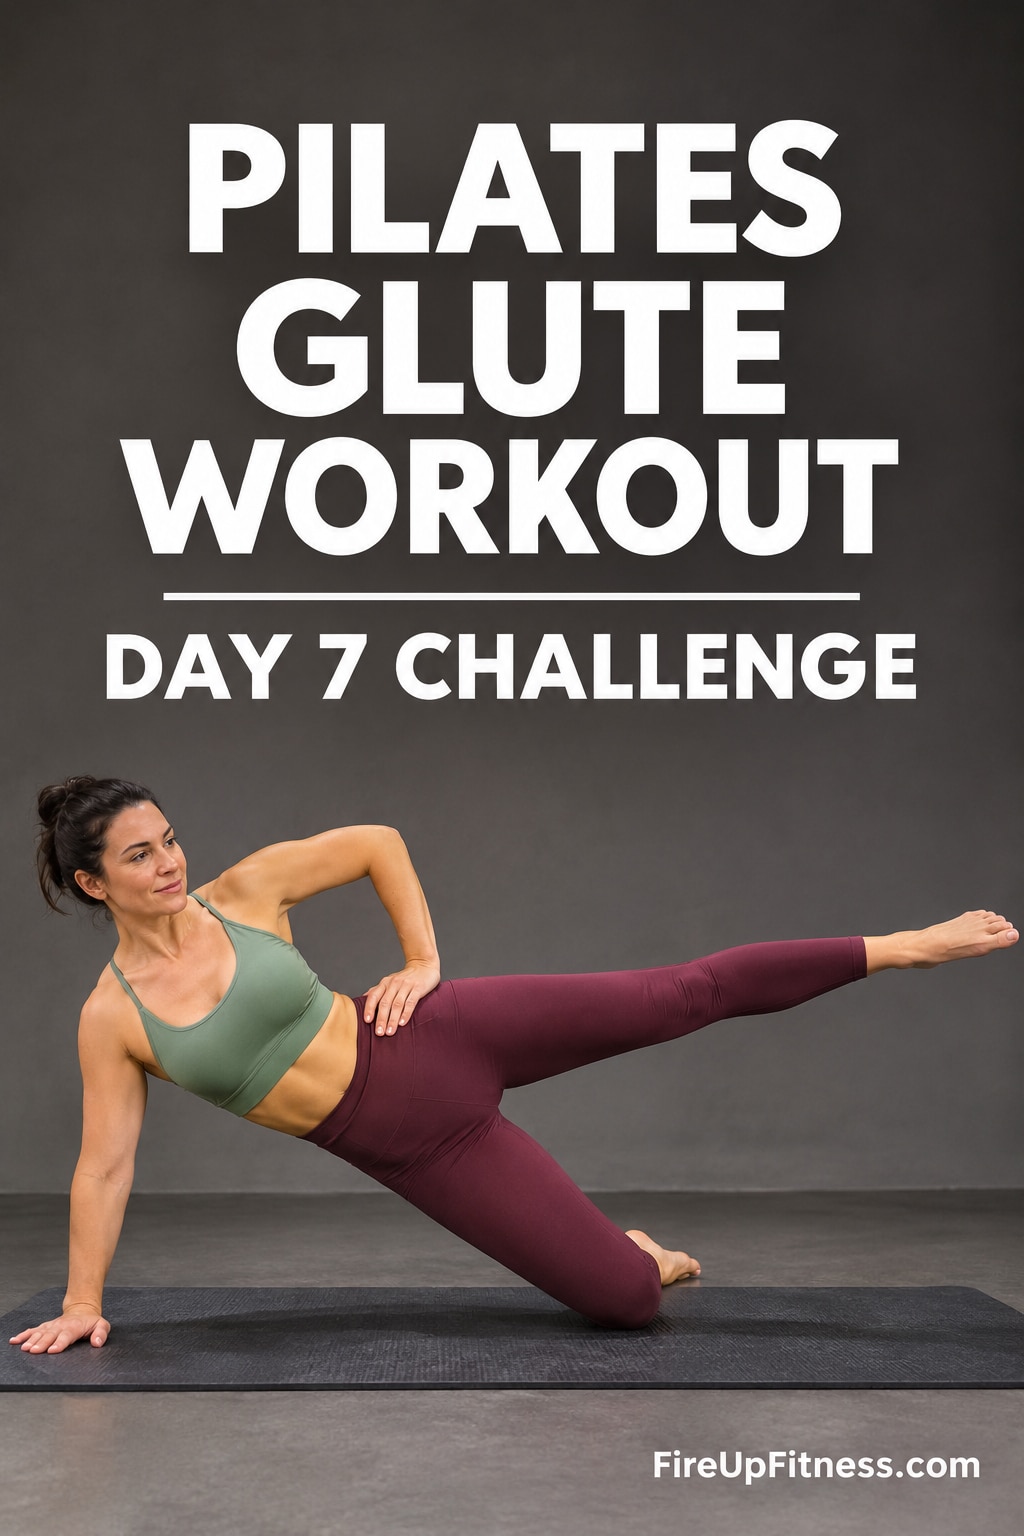
Seven days into your Pilates challenge, and today we’re turning up the intensity!
By now, you’ve spent nearly a week building strength, improving your balance, and learning how to move with greater control. Today’s workout brings those skills together with a challenging lower-body Pilates routine that will put your glutes, thighs, hamstrings, and deep core muscles to work.
Day 7 of our 10-Day Pilates Challenge focuses on advanced lower-body exercises that require strength, stability, and concentration. You’ll move through single-leg squats, controlled leg movements, challenging glute bridges, and exercises that test your balance.
The best part? You don’t need weights, resistance bands, or any special equipment. Just a comfortable mat and a willingness to challenge yourself.
This workout is more demanding than the earlier sessions, but remember that Pilates isn’t about moving quickly or completing the most repetitions. It’s about maintaining control, even when your muscles begin to feel tired.
Let’s get started!
Day 7 Pilates Workout: What to Expect
Today’s session focuses on strengthening your lower body while engaging your core to keep your movements stable.
Workout details:
- Challenge: Day 7 of the 10-Day Pilates Challenge
- Focus: Glutes, thighs, hamstrings, calves, and core stability
- Difficulty: Advanced
- Equipment: Exercise mat
- Workout style: Controlled, timed Pilates exercises
- Impact level: Low-impact, with no jumping
- Finisher: Gentle lower-body stretches
The workout begins with standing exercises before moving to the mat for side-leg movements and several variations of glute bridges.
Although this is an advanced session, you can adjust the range of motion, take short breaks, or use support during balance exercises.
Follow Along With the Day 7 Pilates Workout Video
The video below guides you through the complete workout, including exercise demonstrations, timing, breathing cues, and stretches.
Follow the instructor at your own pace. Focus on keeping your movements controlled rather than trying to match every repetition.
1. Squat and Kickback
We begin with a standing exercise that combines lower-body strength with balance and core control.
The squat and kickback works your glutes and thighs while challenging your ability to keep your hips steady as one leg moves behind you.
How to do it
- Stand with your feet comfortably apart and engage your core.
- Bend your knees and lower into a squat, keeping your back flat.
- Extend one leg straight behind you and lift it in a controlled kickback.
- Return that foot to the starting position.
- Repeat the kickback with your opposite leg.
- Straighten both legs to return to standing.
Continue alternating sides as demonstrated in the video.
Form tip: Keep your pelvis as still as possible during each kickback. Avoid arching your lower back to lift your leg higher.
Your standing leg will be doing considerable work to maintain your balance, so move slowly and deliberately.
2. Half Pistol Squats
Next, we’re increasing the challenge with a single-leg squat variation.
Half pistol squats require strength through your supporting leg while your core and hip muscles help maintain balance.
How to do it
- Stand tall with your weight on your right foot.
- Lift your left leg slightly in front of you, keeping the knee bent if needed.
- Slowly bend your right knee and lower into a single-leg squat.
- Hinge slightly at your hips while maintaining a flat back.
- Press through your right foot to return to standing.
- Complete the timed interval before switching legs.
The instructor encourages working toward a deeper squat, but you don’t need to reach a 90-degree knee bend.
A smaller, controlled movement is perfectly acceptable.
Modification: Hold a sturdy chair or countertop for balance. You can also keep your lifted foot lightly touching the floor between repetitions.
3. High Half-Toe Squats
This Pilates squat variation adds an extra balance challenge by keeping your heels lifted throughout the movement.
You’ll feel your thighs and calves working together while your core helps stabilize your body.
How to do it
- Stand with your feet approximately hip-width apart.
- Rise onto the balls of your feet.
- Keep your heels lifted as you slowly bend your knees.
- Lower into a squat as far as you can comfortably control.
- Press through the balls of your feet to return to standing.
- Continue without dropping your heels.
Keep your shoulders relaxed and your chest lifted.
Form tip: Avoid allowing your ankles to roll inward or outward. Keep your weight distributed evenly across the front of your feet.
4. Low Squat Calf Raises
We’re staying with the standing exercises for one more lower-body challenge.
This movement combines a sustained squat position with controlled heel raises.
How to do it
- Lower into a comfortable squat position.
- Maintain the squat as you slowly lift both heels.
- Pause briefly at the top.
- Lower your heels with control.
- Repeat while keeping your hips at approximately the same height.
Try not to bounce or rush through the heel raises.
This exercise challenges your calves, thighs, and balance simultaneously.
Modification: Reduce the depth of your squat or hold a sturdy support if balancing becomes difficult.
5. Elevated Side-Leg Boxes
Now we’re moving onto the mat for one of the more challenging sections of today’s workout.
This advanced Pilates movement combines a supported side-plank position with controlled leg movements.
You’ll be working your outer glutes while your obliques and supporting hip muscles help keep your body stable.
How to do it
- Lie on your right side with your right elbow directly underneath your shoulder.
- Bend your right knee for support.
- Extend your left leg straight.
- Lift your hips off the mat into a supported side-plank position.
- Move your extended leg through a controlled box-shaped pattern.
- Reverse the direction when instructed.
Complete approximately 60 seconds in each direction before switching sides.
Repeat the same sequence while lying on your left side.
Form tip: Keep your hips lifted and your spine aligned. Make the box smaller if you notice your pelvis rotating or your lower back arching.
This section can become intense, especially during the second direction.
Take a short break whenever necessary. Maintaining proper form matters more than completing the entire interval without stopping.
6. Single-Leg Articulating Glute Bridges
After the side-leg series, it’s time to lie on your back.
The next exercise focuses on glute strength, pelvic stability, and controlled movement through your spine.
Unlike a regular glute bridge, this variation keeps one leg lifted while the other supports your body.
How to do it
- Lie on your back with your knees bent.
- Place your right foot flat on the mat, with your heel beneath your knee.
- Lift your left leg into a tabletop position.
- Gently tuck your pelvis and slowly lift your hips.
- Roll through your spine until you reach a comfortable bridge position.
- Lower slowly, allowing your spine to return to the mat with control.
Complete the interval before repeating on the opposite side.
Form tip: Keep both hip bones level. Avoid letting your lifted leg pull your pelvis to one side.
7. Single-Leg Glute Bridge Lifts
We’re building on the previous movement by adding repeated hip lifts.
This variation increases the demand on your supporting glute while challenging your ability to keep your pelvis steady.
How to do it
- Begin in a glute bridge with your right foot planted.
- Extend your left leg toward the ceiling.
- Keep your shoulders and upper back resting on the mat.
- Slowly lower your hips until they are just above the floor.
- Press through your right heel to lift your hips again.
- Continue for the timed interval before changing sides.
Keep your ribs gently drawn down and avoid pushing your hips higher than you can comfortably control.
Modification: Keep both feet on the mat and perform a standard glute bridge if the single-leg version feels too difficult.
8. Glute Bridge Heel Raises
Next, we’re adding calf work to the glute bridge position.
This exercise requires you to maintain a lifted pelvis while moving one heel up and down.
How to do it
- Lie on your back with both knees bent and your feet on the mat.
- Walk your heels slightly closer to your body.
- Lift your hips into a bridge.
- Raise your right heel onto the ball of your foot.
- Slowly lower and lift the heel while keeping your hips steady.
- Complete the interval and repeat with your left heel.
Focus on moving through your ankle rather than allowing your entire body to shift.
The goal is to keep your hips level while maintaining a comfortable bridge position.
9. High Half-Toe Single-Leg Glute Bridges
This final strengthening exercise brings together several movements you’ve already practiced.
You’ll maintain a raised heel while performing single-leg bridge lifts, making it a demanding finish for your glutes and calves.
How to do it
- Begin lying on your back with your right foot close to your body.
- Lift your right heel so your weight rests on the ball of that foot.
- Bring your left leg into tabletop.
- Lift your hips into a controlled bridge.
- Lower your hips partway toward the mat.
- Press through your supporting foot to lift again.
Continue for approximately 60 seconds, then repeat on the opposite side.
Form tip: Keep your supporting heel lifted throughout the exercise, but reduce the movement if you begin losing balance or control.
This is the last strengthening exercise of Day 7, so focus on finishing with steady, controlled movements.
10. Cool Down With Gentle Lower-Body Stretches
After completing the strengthening exercises, the instructor guides you through a short stretching sequence.
These movements give your legs and hips an opportunity to relax after the challenging workout.
Knee-to-Chest Circles
Lie on your back and gently draw both knees toward your chest.
Move your knees in small circles, first in one direction and then the other.
Keep the movement comfortable and relaxed.
Hamstring Stretch With Ankle Movements
Extend one leg toward the ceiling while keeping the opposite leg relaxed.
Slowly point and flex your foot to create a gentle stretch through your calf and the back of your thigh.
Finish with a few ankle circles in each direction before switching legs.
Supine Spinal Twist
Lie on your back and bend your right knee.
Gently guide your right knee across your body toward the left side while extending your right arm outward.
Hold for a few comfortable breaths before repeating on the other side.
Prone Quadriceps Stretch
Roll onto your stomach.
Bend your right knee and gently bring your heel toward your glute, holding your foot if comfortable.
Keep your pelvis steady and avoid pulling aggressively.
Repeat with the opposite leg.
Shell Stretch
Finish by bringing your hips toward your heels and extending into a comfortable resting stretch.
Breathe slowly and allow your lower back and hips to relax.
Tips for Getting Through This Advanced Pilates Workout
Day 7 introduces more demanding exercises, so a few simple adjustments can make the session more manageable.
- Slow down when your muscles get tired. The workout uses timed intervals, so there’s no need to rush through repetitions.
- Use a smaller range of motion. Deep squats and high leg lifts aren’t necessary for an effective workout.
- Pay attention to your supporting leg. Many exercises rely on one leg to keep your body stable.
- Keep breathing. Exhale during the more demanding part of each movement and avoid holding your breath.
- Take breaks when needed. A few seconds of recovery can help you return with better control.
Because this is an advanced session, it’s also fine to substitute easier variations. Stop any movement that causes sharp pain or discomfort in your joints.
Catch Up on the Previous Pilates Challenge Workouts
New to the challenge or missed a workout? You can still follow along from the beginning.
Each session is part of our 10-day Pilates series, giving you a structured way to practice different movements and gradually build strength.
Here are the previous six workouts:
- Day 1: 10-Day Pilates Challenge – Start Here
- Day 2: 10-Day Pilates Challenge Workout
- Day 3: 10-Day Pilates Challenge Workout
- Day 4: 10-Day Pilates Challenge Workout
- Day 5: 10-Day Pilates Challenge Workout
- Day 6: 10-Day Pilates Challenge Workout
You can complete the workouts in order or revisit individual sessions whenever you want to practice a particular movement.
Day 7 Complete: Three More Days to Go!
You’ve officially completed Day 7 of the 10-Day Pilates Challenge!
Today’s workout demanded more from your lower body, particularly during the single-leg squats, elevated side-leg exercises, and advanced glute bridge variations.
But completing an advanced Pilates workout isn’t about performing every movement perfectly. It’s about recognizing your limits, practicing good technique, and gradually becoming more confident with challenging exercises.
Some movements may have felt surprisingly difficult today. That’s okay. Balance, strength, and coordination all improve with practice.
With seven days behind you, there are only three sessions remaining in the challenge.
Take time to recover, stay hydrated, and give your muscles the rest they need.
Coming up next: Day 8 of the 10-Day Pilates Challenge!
Keep showing up, keep moving with intention, and enjoy the progress you’re making.
Which exercise challenged you the most today: the half pistol squats, side-leg boxes, or single-leg glute bridges? Share your experience in the comments!